Snapper Mower Problems | Repair Guide
Snapper has been making mowers since 1951, establishing a reputation for durability and innovative design. Best known for their rear-engine riders with the distinctive disc drive system, Snapper also produces quality front-engine tractors and push mowers. These machines are built to last, but problems develop over time. This guide helps diagnose and fix common issues across the Snapper lineup so you can keep your lawn looking sharp.
Table of Contents
- Model Overview
- Starting Problems
- Engine Issues
- Drive System
- Deck Problems
- Maintenance Tips
- Troubleshooting Quick Reference
- Frequently Asked Questions
Model Overview
Understanding Snapper’s product lines helps with parts sourcing and troubleshooting.
Rear Engine Riders
Snapper’s signature design places the engine behind the operator for excellent visibility and a tight turning radius. These mowers excel on smaller properties with obstacles.
| Model | Engine | Deck | Best For |
|---|---|---|---|
| RE110 | Briggs 11.5HP | 28” | Small yards |
| RE130 | Briggs 13.5HP | 28”/33” | Medium yards |
| RE210 | Briggs 15.5HP | 33” | Larger properties |
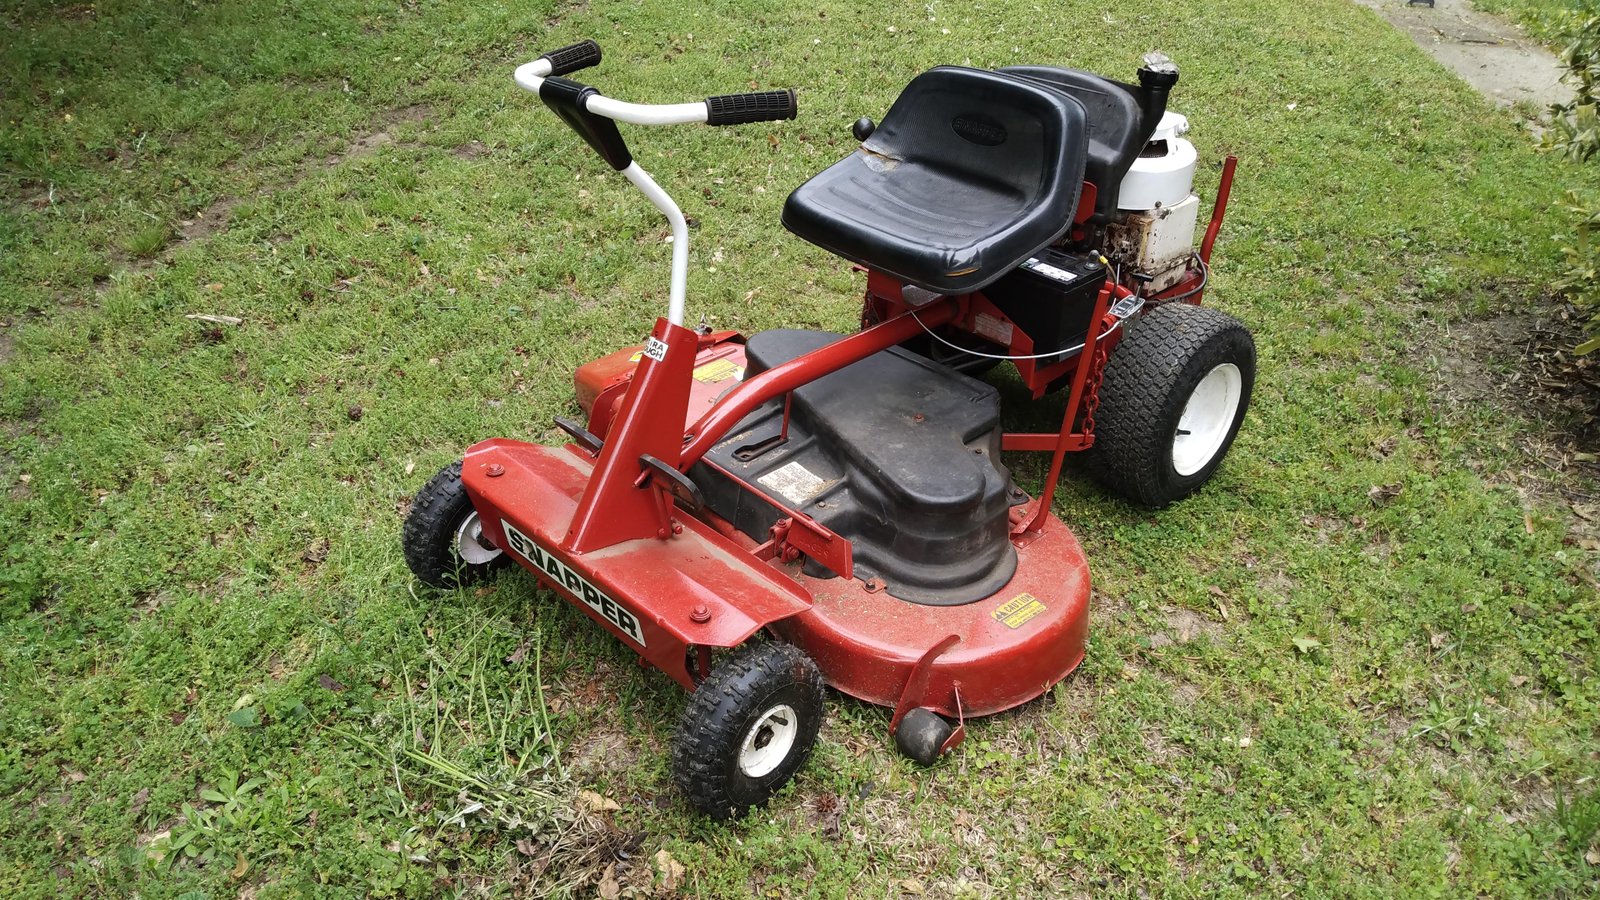
 Snapper’s rear engine riders offer excellent visibility and tight turning radius
Rear engine advantages:
- Better forward visibility (no engine hood blocking view)
- Tighter turning radius for maneuvering around obstacles
- Lower center of gravity for hillside stability
- Compact storage footprint
Rear engine considerations:
- Unique disc drive system requires specific maintenance
- Engine cooling can be challenging (keep debris cleared)
- Longer fuel delivery path than front-engine designs
Front Engine Tractors
Snapper’s SPX series competes with mainstream lawn tractors from other manufacturers.
| Model | Engine | Deck | Transmission |
|---|---|---|---|
| SPX110 | Briggs 22HP | 42” | Hydrostatic |
| SPX2242 | Briggs 22HP | 42” | Hydrostatic |
| SPX2548 | Briggs 25HP | 48” | Hydrostatic |
These tractors use conventional hydrostatic transmissions and are more similar to John Deere or Cub Cadet designs than Snapper’s unique rear-engine models.
Push Mowers
| Model | Engine | Width | Drive |
|---|---|---|---|
| SP80 | Briggs 140cc | 21” | Self-propelled |
| SP90 | Briggs 163cc | 21” | Self-propelled |
| XD82 | Briggs 82V | 21” | Battery |
Snapper push mowers use reliable Briggs & Stratton engines with straightforward maintenance requirements.
Starting Problems
Starting issues are the most common complaints. The diagnosis approach differs slightly between rear-engine riders and conventional tractors.
Won’t Crank (No Response to Key)
When turning the key produces no response, the issue is electrical - either the battery, safety switches, or starter circuit.
Safety switch verification: Snapper riding mowers have multiple safety interlocks that must all be satisfied:
- Seat switch - Operator must be seated
- Brake/clutch - Brake pedal pressed or parking brake set
- Blade control - PTO/blade switch in OFF position
- Parking brake - Must be engaged on some models
Battery diagnosis:
- Check battery voltage with multimeter (should read 12.5V or higher)
- Inspect terminals for corrosion (white/green buildup)
- Clean terminals with wire brush and baking soda solution
- Load test battery if voltage is borderline
- Check charging system output while running
Starter circuit checks:
- Fuse condition (if equipped)
- Solenoid clicking (indicates power reaching solenoid)
- Starter motor connections
- Ground wire condition
 Corroded battery terminals are a common cause of starting problems
Cranks But Won’t Start
The engine turns over but doesn’t fire. This indicates fuel, spark, or compression issues.
Fuel system diagnosis:
- Is fuel fresh? - Gasoline degrades within 30 days
- Fuel shutoff valve - Ensure it’s in the ON position
- Fuel pump working? - Rear engine riders use mechanical fuel pumps driven by crankcase vacuum
- Carburetor getting fuel? - Loosen bowl drain or disconnect line to verify
Spark verification:
- Remove spark plug
- Reconnect plug wire
- Ground plug body against engine block
- Crank engine and observe for spark
- Look for strong blue spark (weak orange = failing plug/coil)
Rear engine rider specific: The fuel pump on rear-engine Snappers is driven by crankcase vacuum through a pulse line. A cracked or disconnected pulse line prevents the pump from working. Check the small rubber line running from the crankcase to the fuel pump.
Rear Engine Rider Starting Procedure
These models have a specific starting sequence that works best:
Cold start:
- Sit on seat (activates safety switch)
- Set parking brake
- Move throttle to CHOKE or FAST with choke engaged
- Turn key and hold until engine fires
- Move throttle to FAST, release choke
- Let engine warm 30 seconds before engaging blades
Hot restart:
- Throttle to FAST (no choke)
- Turn key - should start within a few seconds
Engine Issues
Beyond starting problems, Snapper engines can develop running issues.
Engine Surging
Surging (RPM fluctuating rhythmically) indicates fuel delivery or air leak problems.
Common causes:
- Dirty air filter - Restricts airflow, causes hunting
- Carburetor needs service - Varnish deposits from old fuel
- Governor linkage - Binding or misadjusted
- Fuel delivery restriction - Clogged filter or line
Snapper-specific consideration: Rear engine riders have longer fuel lines than front-engine designs. These extended lines are more prone to developing air leaks at connections, causing intermittent surging.
Diagnosis tip: If surging stops when you cover part of the air intake with your hand, suspect a lean fuel condition (clogged filter, carburetor jets, or air leak).
Overheating
Overheating damages engines and shortens their lifespan.
Causes:
- Debris blocking cooling - Grass clippings and dirt pack around cooling fins
- Low oil - Insufficient lubrication generates excess heat
- Engine shroud damaged - Directs cooling air; if missing or broken, airflow is reduced
- Operating conditions - Heavy load in hot weather
- Lean fuel mixture - Carburetor maladjusted
Rear engine riders: The engine position at the rear limits natural airflow. These machines need extra attention to keeping the engine area clean. Blow out debris after every use.
 Keep cooling fins clear of debris to prevent overheating
Oil Consumption
Excessive oil use indicates internal engine wear.
Causes:
- Worn piston rings - Common on high-hour engines
- Valve seal failure - Oil seeps past seals into combustion chamber
- Operating angle - Mowing steep slopes can cause oil to bypass rings
- Breather system issues - Clogged breather increases crankcase pressure
Monitoring: Check oil before every use, especially on rear engine riders. These engines can consume oil faster if operated on slopes.
When to rebuild vs replace: If oil consumption exceeds 4 oz per hour of operation, the engine likely needs rings, valve seals, or replacement. Cost of rebuild parts often approaches the cost of a replacement short block.
Drive System
Snapper uses two distinct drive systems depending on model type.
Rear Engine Rider Disc Drive System
Snapper’s signature disc drive system differs fundamentally from hydrostatic transmissions.
How it works: A rubber-faced friction disc contacts a metal drive plate attached to the engine crankshaft. Moving the speed control lever repositions the disc:
- Closer to center = slower speed
- Toward edge = faster speed
- Opposite side of center = reverse
This simple mechanical system is durable and field-serviceable, but requires periodic adjustment and eventual disc replacement.
Symptoms of worn friction disc:
- Mower won’t move or moves very slowly
- Slipping under load (especially on hills)
- Inconsistent speed response
- Need to press drive pedal harder than usual
- Burning rubber smell during operation
Visual inspection: The friction disc rubber should have visible tread pattern. If worn smooth or showing bare metal, replacement is needed.
Disc Drive Adjustment
As the friction disc wears, adjustment compensates for material loss.
Adjustment procedure:
- Locate the adjustment mechanism (varies by model year)
- Loosen locknut
- Turn adjustment bolt to increase disc pressure against drive plate
- Test engagement - should move smoothly without excessive pedal pressure
- Tighten locknut
Important: Don’t over-tighten. Excessive pressure causes rapid disc wear and can damage the drive plate.
Adjustment frequency: Check annually or whenever drive performance declines. Most discs allow several adjustments before replacement is needed.
Disc Replacement
When adjustment no longer restores proper drive function, the disc needs replacement.
Replacement cost: $25-50 for the part DIY difficulty: Moderate - requires accessing the disc assembly under the mower
Replacement interval: Typically 5-10 years depending on usage and terrain. Frequent hill mowing accelerates wear.
Hydrostatic Transmission (SPX Tractors)
SPX series tractors use conventional hydrostatic transmissions similar to other brands.
Won’t move diagnosis:
- Check bypass valve - Must be closed for normal operation (open for pushing)
- Inspect drive belt - Connects engine to transmission
- Verify transmission engagement - Control linkage properly connected
- Check for leaks - Fluid loss causes weak or no drive
Weak drive causes:
- Belt slipping (worn or loose)
- Internal transmission wear
- Low fluid level (if serviceable - check owner’s manual)
- Control linkage maladjusted
 Inspect drive belts regularly for wear, cracks, and proper tension
Deck Problems
Cutting deck issues affect cut quality and can indicate wear.
Uneven Cut
An uneven cut makes lawns look unprofessional.
Systematic diagnosis:
- Tire pressure - Unequal pressure tilts the deck. Check all tires.
- Deck level - Measure deck height at all four corners
- Blade condition - Bent, dull, or unbalanced blades cut unevenly
- Spindle bearings - Worn bearings allow blade wobble
- Deck damage - Bent deck shell from impacts
Leveling procedure:
- Park on flat, level surface
- Set deck to middle height setting
- Measure from ground to blade tip at front and rear
- Adjust deck hangers until level side-to-side and slightly lower in front (1/8” to 1/4”)
Blades Won’t Engage
When the PTO switch produces no blade rotation:
Check in order:
- PTO switch - Test for continuity, replace if faulty
- Blade brake - Verify brake releases when PTO engages
- Belt condition - Broken or thrown belt is common
- Electric clutch - Listen for engagement click; test voltage at clutch
- Safety switches - Seat switch must be satisfied
Deck Vibration
Excessive vibration indicates a problem that will worsen if ignored.
Causes:
- Bent blade - Most common after hitting objects
- Loose blade bolt - Check torque specification
- Spindle bearing failure - Grab blade tip and check for play
- Belt wear - Stretched or damaged belt can cause vibration
- Debris buildup - Caked grass unbalances the deck
Checking for bent blade: Remove blade and lay on flat surface. Roll it - a bent blade wobbles visibly.
Maintenance Tips
Regular maintenance prevents most problems and extends equipment life.
Every 25 Hours
- Check engine oil level
- Clean or inspect air filter
- Inspect drive and blade belts
- Grease all fittings (rear engine riders have several)
- Check tire pressure
- Clear debris from engine area
Every 50 Hours
- Change engine oil
- Service air filter (clean foam, replace paper)
- Sharpen or replace blades
- Check tire pressure and tread
- Inspect battery terminals
- Clean deck underside
Annually (or Every 100 Hours)
- Replace spark plug
- Replace fuel filter
- Inspect and replace belts as needed
- Check battery condition and charge
- Full deck inspection and leveling
- Lubricate all cables and pivot points
Storage Preparation
- Add fuel stabilizer or run tank dry
- Change oil while engine is warm
- Clean entire machine thoroughly
- Disconnect battery or use maintainer
- Store in dry location
Troubleshooting Quick Reference
| Problem | Likely Cause | Solution |
|---|---|---|
| Won’t crank | Dead battery | Charge/replace battery |
| Won’t crank | Safety switch | Check all interlocks |
| Cranks, won’t start | Old fuel | Drain, add fresh |
| Cranks, won’t start | No spark | Replace plug/check coil |
| Surging | Dirty carb | Clean carburetor |
| Overheating | Debris buildup | Clean cooling fins |
| Won’t move (RER) | Worn disc | Adjust/replace disc |
| Won’t move (SPX) | Bypass open | Close bypass valve |
| Uneven cut | Low tire | Check all pressures |
| Vibration | Bent blade | Replace blade |
Common Parts
| Part | Application | Cost |
|---|---|---|
| Friction disc | Rear engine riders | $25-50 |
| Drive belt | Various | $20-40 |
| Blade belt | Various | $25-45 |
| Blade set | 28”-33” deck | $30-60 |
| Air filter | Briggs engines | $10-20 |
| Spark plug | All models | $5-8 |
| Fuel filter | All models | $5-10 |
| Spindle assembly | Deck | $50-100 |
Frequently Asked Questions
Are Snapper mowers still made?
Yes. Snapper is now owned by Briggs & Stratton (which was acquired by Husqvarna Group). Production continues on core models including rear engine riders.
How long do Snapper mowers last?
With proper maintenance, Snapper rear engine riders commonly last 15-25 years. The simple disc drive system is very durable. Front engine tractors have similar lifespans to competing brands (10-20 years).
Why won’t my Snapper rear engine rider move?
Most commonly the friction disc is worn and needs adjustment or replacement. Also check the drive belt condition and ensure the bypass isn’t engaged.
What’s special about Snapper’s disc drive?
The friction disc system is simpler than hydrostatic transmissions - fewer seals, no fluid to leak, and field-serviceable without special tools. Tradeoff is periodic adjustment and eventual disc replacement.
Can I replace the Briggs engine with a different brand?
Technically possible but rarely practical. Mounting holes, shaft sizes, and electrical connections differ between brands. A Briggs replacement is usually the simplest path.
Why does my Snapper overheat?
Rear engine riders are prone to debris accumulation around the engine. Blow out grass clippings and dirt after every use. Also check oil level and ensure the engine shroud is intact.
Related Guides
- John Deere Mower Problems
- Cub Cadet Mower Problems
- Riding Mower Won’t Start
- Briggs & Stratton Engine Problems
Snapper mowers are well-built machines with a loyal following, especially the distinctive rear engine riders. Keep up with the unique maintenance requirements of the disc drive system, maintain proper oil levels, and clear engine debris regularly. These mowers will provide years of reliable service with proper care.